 07/28/19
07/28/19
07/28/19
Have you ever watched an experienced YouTuber’s videos and thought “Oh, I could do that!” And then you go to upload the video and it’s just not as impressive as you thought it was going to be?
Boy, oh boy have I been there!
I wasn’t really ever that big into YouTube until this year.
Honestly, I watched maybe 1 YouTube video a week. Now? I watch well over 5 videos a week. Sometimes it’s over 5 videos a day if it’s a really unproductive day. That’s pretty disappointing to admit…
But when I watch YouTube videos, I’m always looking for things that I can do better within my own. And to be 100% honest, that’s where most of these tips have come from!
Simply watching videos, seeing what I like, and taking notes on what to do better the next time I create a video.
So today, I figured it was a pretty good chance to share with you some of the things I’ve learned to create better YouTube videos. So are you ready to get started?
Let’s get into it!
When I was coming up with this list, I was going to break it into several sections talking about how to make your videos look nicer, seem more professional, and even a few minor changes you can make for better quality.
But then I just decided to create a YouTube video that talks about how to make your videos look nicer. And I saved this blog post to share just about everything else.
So here are 10 tips for ya to start implementing on your YouTube today!
Starting from when you first shoot the video, you need to consider the background.
No one wants to see your dirty laundry or your garbage or even your unmade bed. If your background is too messy, people will spend more time looking at the background than they will looking at you!
So when you shoot your next YouTube video, consider the background.
Pick an area that’s visually appealing. Tidy up a little bit. And then shoot the video!
When you’re starting out with video, it’s fine to shoot in front of a window. But you don’t want to shoot on a partially cloudy day!
I learned this the hard way.
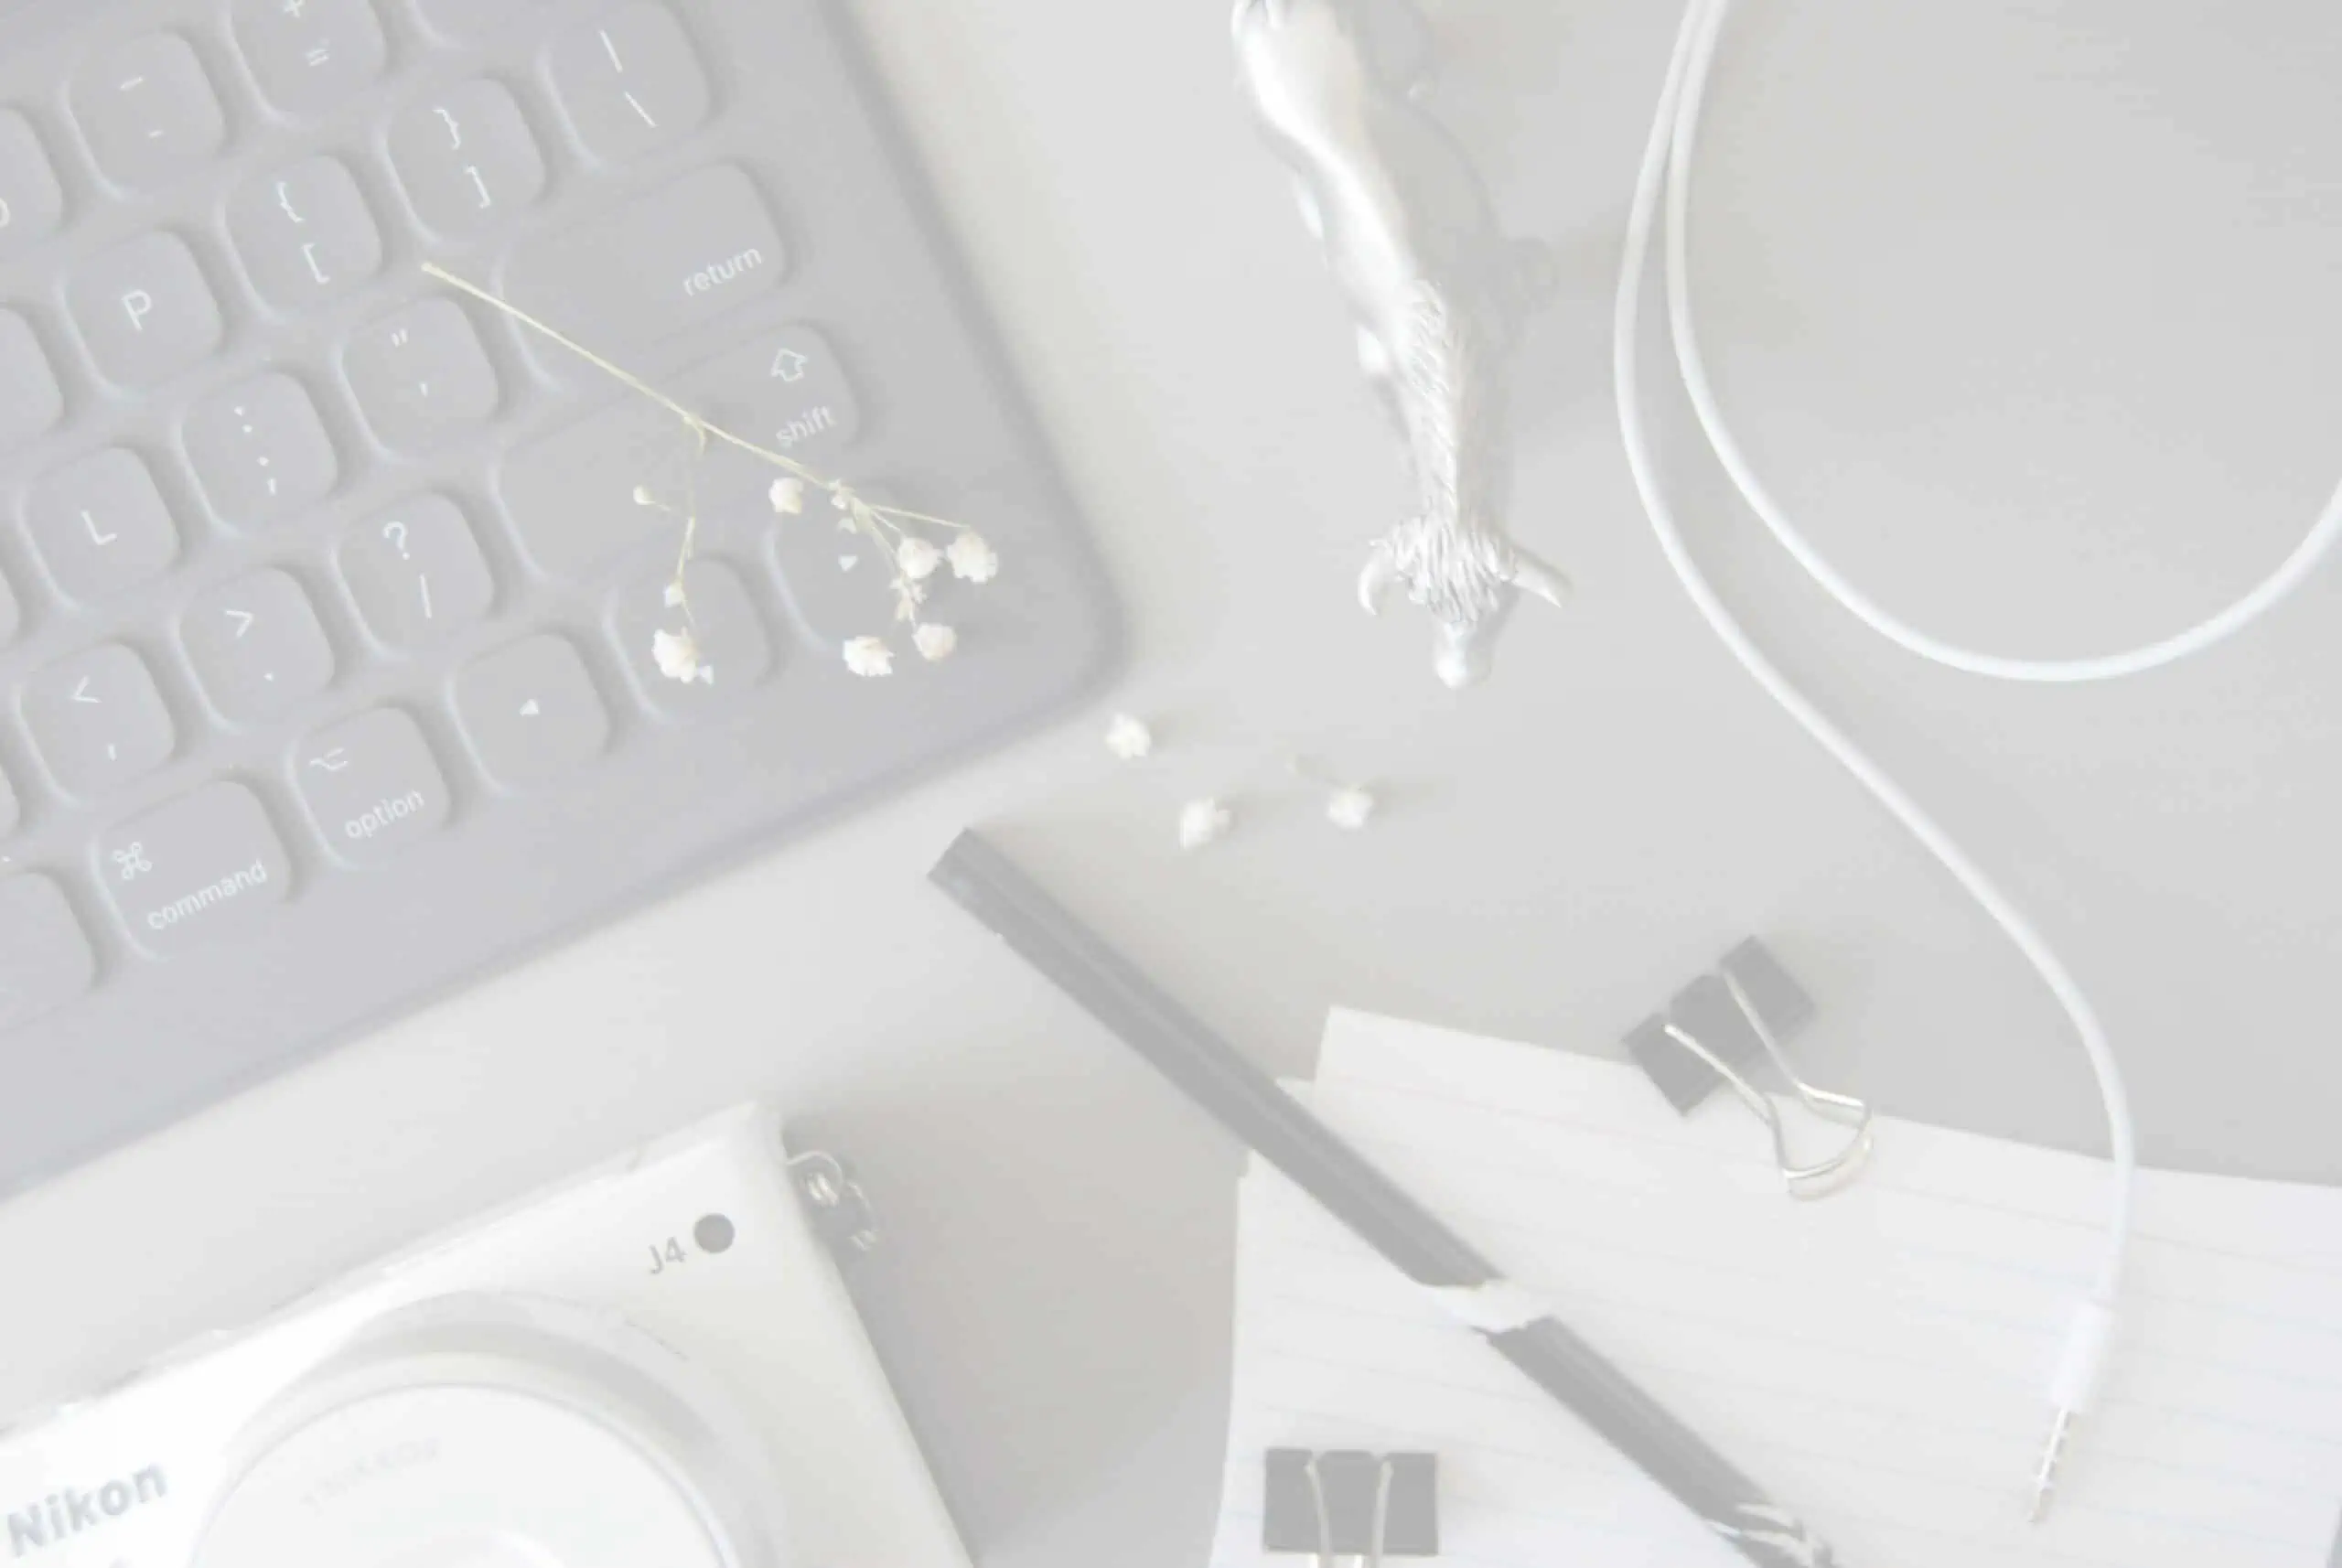
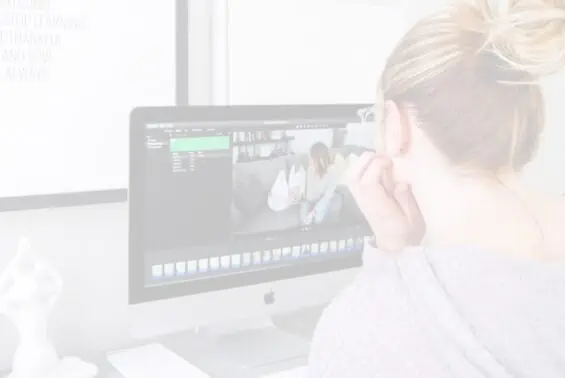
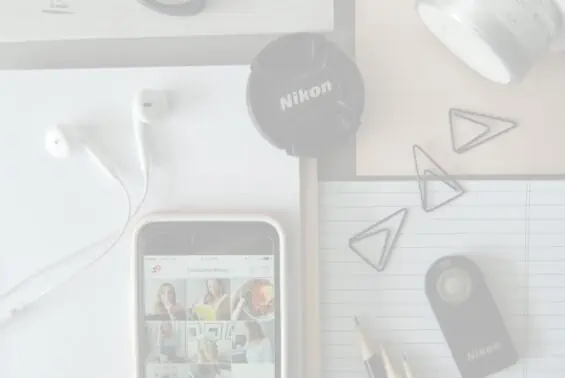
I shoot all of my videos with my Nikon J4 camera. And it doesn’t have a forward facing or movable screen. Meaning, when I start shooting my video, I have no idea what it looks like until the end.
So when I was just using window lighting, I couldn’t tell that the quality of the video was pretty poor when the sun kept coming in and out from behind the clouds. I had no idea!
Now, I know a little bit better.
If I’m going to shoot with window lighting, I either choose a day that has no clouds in the sky, or I pick a day that is completely overcast!
That way the lighting is a bit more consistent.
But if you can afford lighting equipment, I say it’s time to make that purchase! A little over 3 months ago, I got my first set of lights and they have been a game changer for my videos.
I can now shoot videos morning, day, or night and no one can tell the difference because I’m using my lighting set!
This is so darn hard when you are first starting to create YouTube videos.
And I was the worst at it!
I wanted every single video to be perfect. So it was like I was reading from a script. I would plan out what I was going to say and if I didn’t do it right, I would waste so much time trying to reshoot the video until it was as perfect as possible.
And in the end, it kinda came off like I was a robot.
There was no personality in my videos. It was just a video. And when people watched it, there was probably nothing keeping them coming back for more.
That’s why you have to be yourself.
It’s better if you actually look like a human. If you’re relatable and show your personality. It will go farther than you think to improve the quality of your videos.
Trust me.

When I first got started with YouTube videos, I would shoot the video and upload it almost immediately.
The only major change I would make was to cut out the beginning and end where I was turning on and off the camera. Otherwise, everything stayed the same. (As long as I shot it perfectly in 1 take obviously.)
But soon I realized that this was a really dumb strategy because just about every successful YouTuber changes the frame or at least the cropping of the frame during the video.
So if there are any points in your video where you think it would be funny to really get close on something, crop in really close when you are editing your footage. Or if you think it would be beneficial to draw emphasize to what you are saying, crop in closer!
You can even use the slow zoom in when you think it’s appropriate!
When you change up the cropping of the frame, you keep the viewers engaged and interested in what you’re saying. Plus, it makes your videos look like a little higher quality because you added some effects!
It’s a win win.
Typically when you shoot a YouTube video, you have a general idea of what you want it to be about. And if you don’t then that’s your first problem!
But with every video, you also need to have a plan of what you’re either going to do or talk about.
There is nothing worse than sitting down to shoot an informative video to realize that you just rambled on about nothing really important for 20 minutes.
I like to have notes prepared when I shoot my videos. That way I have my talking points at hand and if I ever get off base, I know what I need to say to have the video make sense.
So take the time to plan ahead. You’ll notice that you’re videos are shorter, more action-packed, and enjoyable overall!
This was a major problem when I would just take what I shot and upload it to YouTube… there were so many unnecessary breaks between me talking.
Even if it was just a second where I was taking a breath, I couldn’t stand it!
I like my videos quick and to the point! I don’t want to watch a 25 minutes videos that basically nothing but you thinking about what you’re going to say next!
So delete any unnecessary breaks.
Any moments where you take to long to say the next thing. Anytime you are checking your notes for what to say next. Really just any time you aren’t talking consistently, crop the breaks out.
You may notice that you like some of the breaks. Maybe you like when it’s a casual flow of conversation! Just know that you don’t have to follow this tip 100%.
But if you’re like me and you want to make your videos interesting, then crop out that fluff!
When you’re just getting started with video, it’s a little intimidating. And the last thing you want to do is figure out how text works.
But at some point, text is a little important!
It can make a boring video just a little bit interesting as long as you do it tastefully.
You can add text when you’re transitioning in your video. You could add text to emphasize when you are saying.
Or you could add text as a little caption to improve upon what you were saying in the video but forgot to say while filming.
It doesn’t matter how you do it… just give it a shot!
If you want to make your videos seem a bit more professional, add a little background music!
I like to add a little music that’s only at 2% or 3% so it’s really quiet and basically unnoticeable. But it’s still there!
With YouTube, you have to watch out for copyright though. If you’re just getting started with adding music to your YouTube videos, I recommend taking a look at the music that YouTube has to offer! It’s completely free. And for some of the music, you don’t have to worry about copyright or adding a special caption to the description of your video.
To find this music, go to YouTube’s creator studio.
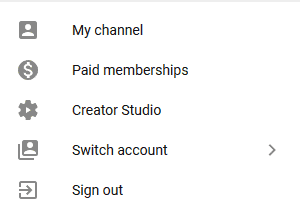
On the left-hand side, you’ll see the main menu. Near the bottom, there is an option that says ‘Create’.
This will take you to the audio library on YouTube. You’ll get access to the free music that’s available and free sound effects!
Sadly, they are getting rid of the ‘Favorites’ feature that allows you to save the images you like within YouTube.
But of course, you can download any song that you enjoy and use it in your videos!
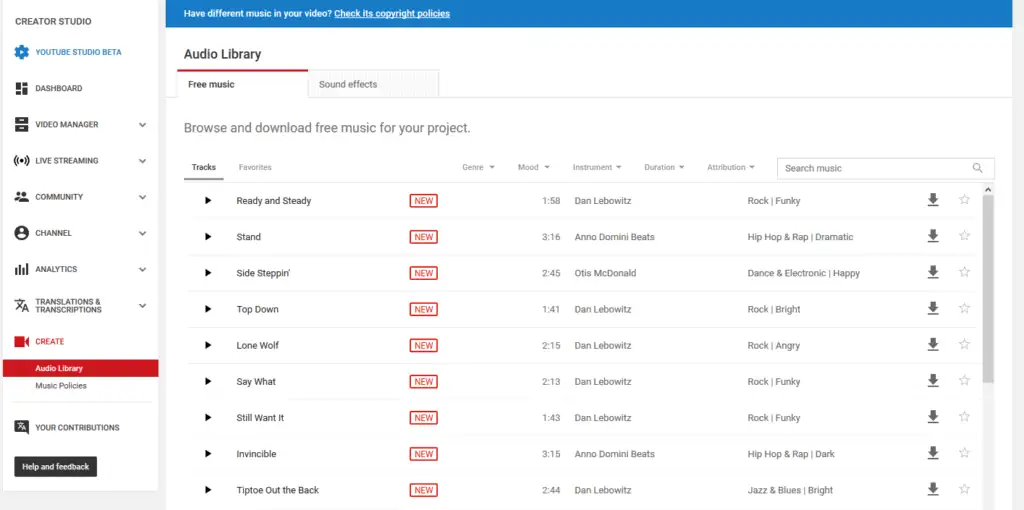
The only thing you need to be careful of is if the song requires you to give credit in the description of the video.
If this is required, you’ll notice a little warning with the song. And if you want to be sure that there is no specific requirement, all you have to do is click on the song and a drop down will appear with restrictions that you need to follow.
Buttttt… if you do want to add popular music to your video, all you have to do is search for the copyright information.
Keep reading.
You know those super awesome YouTube or Instagram videos that have popular music playing in the background? Yeahhhh, well if you try to add the music to your YouTube video without following the proper instructions, your video would be taken down!
So you need to be careful when it comes to using music not included in the free YouTube audio section.
Right on YouTube, you can check for the songs you want to include and see what their copyright restrictions are. For some songs, you aren’t allowed to use them at all.
For others, you are allowed to use them as long as you give proper credit!
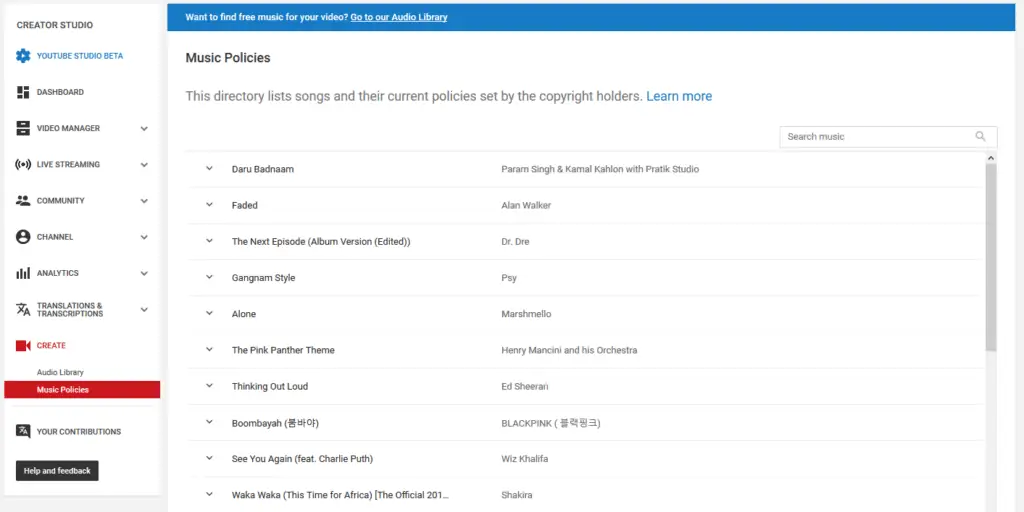
If you’re choosing this method of music, in the same section we were before under the ‘Create’ option on the left-hand side menu of the Creator Studio, you’ll notice that 2 options appear.
When you’re finding free music on YouTube, you want to choose the first option titled ‘Audio Library’. But if you are looking for copyright information, then you want to select the second option: ‘Music Policies‘.
If you already have a specific song in mind, all you have to do is search it in the search bar on at the top right.
But if you don’t have a specific song in mind, you can scroll through the popular songs that are immediately provided.
And same as with the free music library, if you want to find out more information about the song and the guidelines you are required to follow, simply click on the song and a drop down will appear with more information.
This might not seem important at first, but it helps to make your videos look more interesting and professionally done.
So I recommend using transitions when switching shots.
This doesn’t mean doing anything extremely fancy when shooting. Although that is always an option!
What it does mean is when you are editing your footage, try some different transitions when it’s appropriate.
This is especially important when it comes to vlogs. But honestly, I think it’s important for every video. Because even if I’m just recording a video in my office, I like to break up my intro, main content, and outro.
But this isn’t necessary! Maybe you only want to use it when you are changing activities in your video. Or maybe when a scene changes.
Whatever you think is appropriate, do it!
And again, it doesn’t have to be anything fancy. You can use a simple fade and that one feature will make a noticeable difference.
Sometimes it’s best to not take life so seriously. And the same goes for your YouTube videos.
Your vibe will attract your viewers. And if you aren’t having fun, then you can almost guarantee that your audience isn’t having fun either.
So don’t take yourself too seriously. Be yourself. And have a little bit of fun!
It will make your job of creating YouTube videos a whole lot easier.
We covered a lot of information in those 10 tips. So let’s run through the list again to see if you (or I) can remember them:
And that’s it!
But I wanna know if you have any YouTube tricks up your sleeve that could help other members of the TCB community. Do ya? Huh, huh?
If so, I’d love to hear them in the comments section down below!


Cathrin (Cath) creates content that encourages bloggers & online entrepreneurs to be themselves, chase their passion, and create their success online. 1 year after started her blog (TheContentBug.com), Cath left her full-time position working in the digital marketing industry to pursue her dreams of being her own boss. In weekly blog posts, sporadic YouTube videos, and constant talking on Instagram stories, Cath hopes to spread her story and be an inspiration to others who desperately want to change their lives.

LEAVE A COMMENT
7 responses to “10 Tips To Create Better YouTube Videos”
Can you be more specific about the content of your article? After reading it, I still have some doubts. Hope you can help me.
Thanks for sharing. I read many of your blog posts, cool, your blog is very good.
These are some great things to consider when creating YouTube videos. When I first started, I used more text, but now that our frequency of posts and now that we’ve added three camera angles, I have slacked off the text (in an effort to get things done and out into the world quicker). However, I do know how important adding text can be. Thanks for sharing an easy roadmap for someone who is not sure where to start. I am definitely sharing this with my Facebook group!
Just found your site through Pinterest today and I have to say, …you’re the best blog inspiration I’ve seen in a long while. I don’t mean to creep, but I just immediately loved your site and your brand and wanted to give you props. Thanks for the quality content!
Hey Chloe!
It’s not creepy at all! I really appreciate you reaching out and saying that! I work hard to provide informative and motivating content. So saying “best blog inspiration” means the work to me!
Thank you, thank you, thank you for being you.
XO, Cath
Hi Cath, thanks for a great post! What program do you use to edit your videos? Is there a free one you can recommend to get started with?
I currently use iMovie to edit my YouTube videos! I know there are better platforms out there but this is a free option that I already have on my computer so it works!